Give Thanks Cricut File
Yesterday’s digital file remade for the cricut.
Instructions to put it together are after the photos.
Allow about one and a half to two hours from start to finish...if you start putting the letters together while the rest is cutting it will cut the time down more.
Putting it togetherYou’ll need
two pieces of 12 x 12 card stock (I used printed) for the basic page and the outer border piece and one set of squares.
The rest can be done with 8.5 x 11 and in some cases small scraps**
2 sheets of black
Brown**
1 full sheet of med green or printed green
2 more shades of green**
1 sheet Orange or red for the letters and a couple of the leaves
2 more shades orange** or yellow** for mats and leaves.
Art glitter glue or your favorite paper glue.
Cricut gold gel pen
Markers (optional)
First thing turn off the white square at the bottom..it just represents the 12 x12 page..turn of or delete the instruction on the page, too...
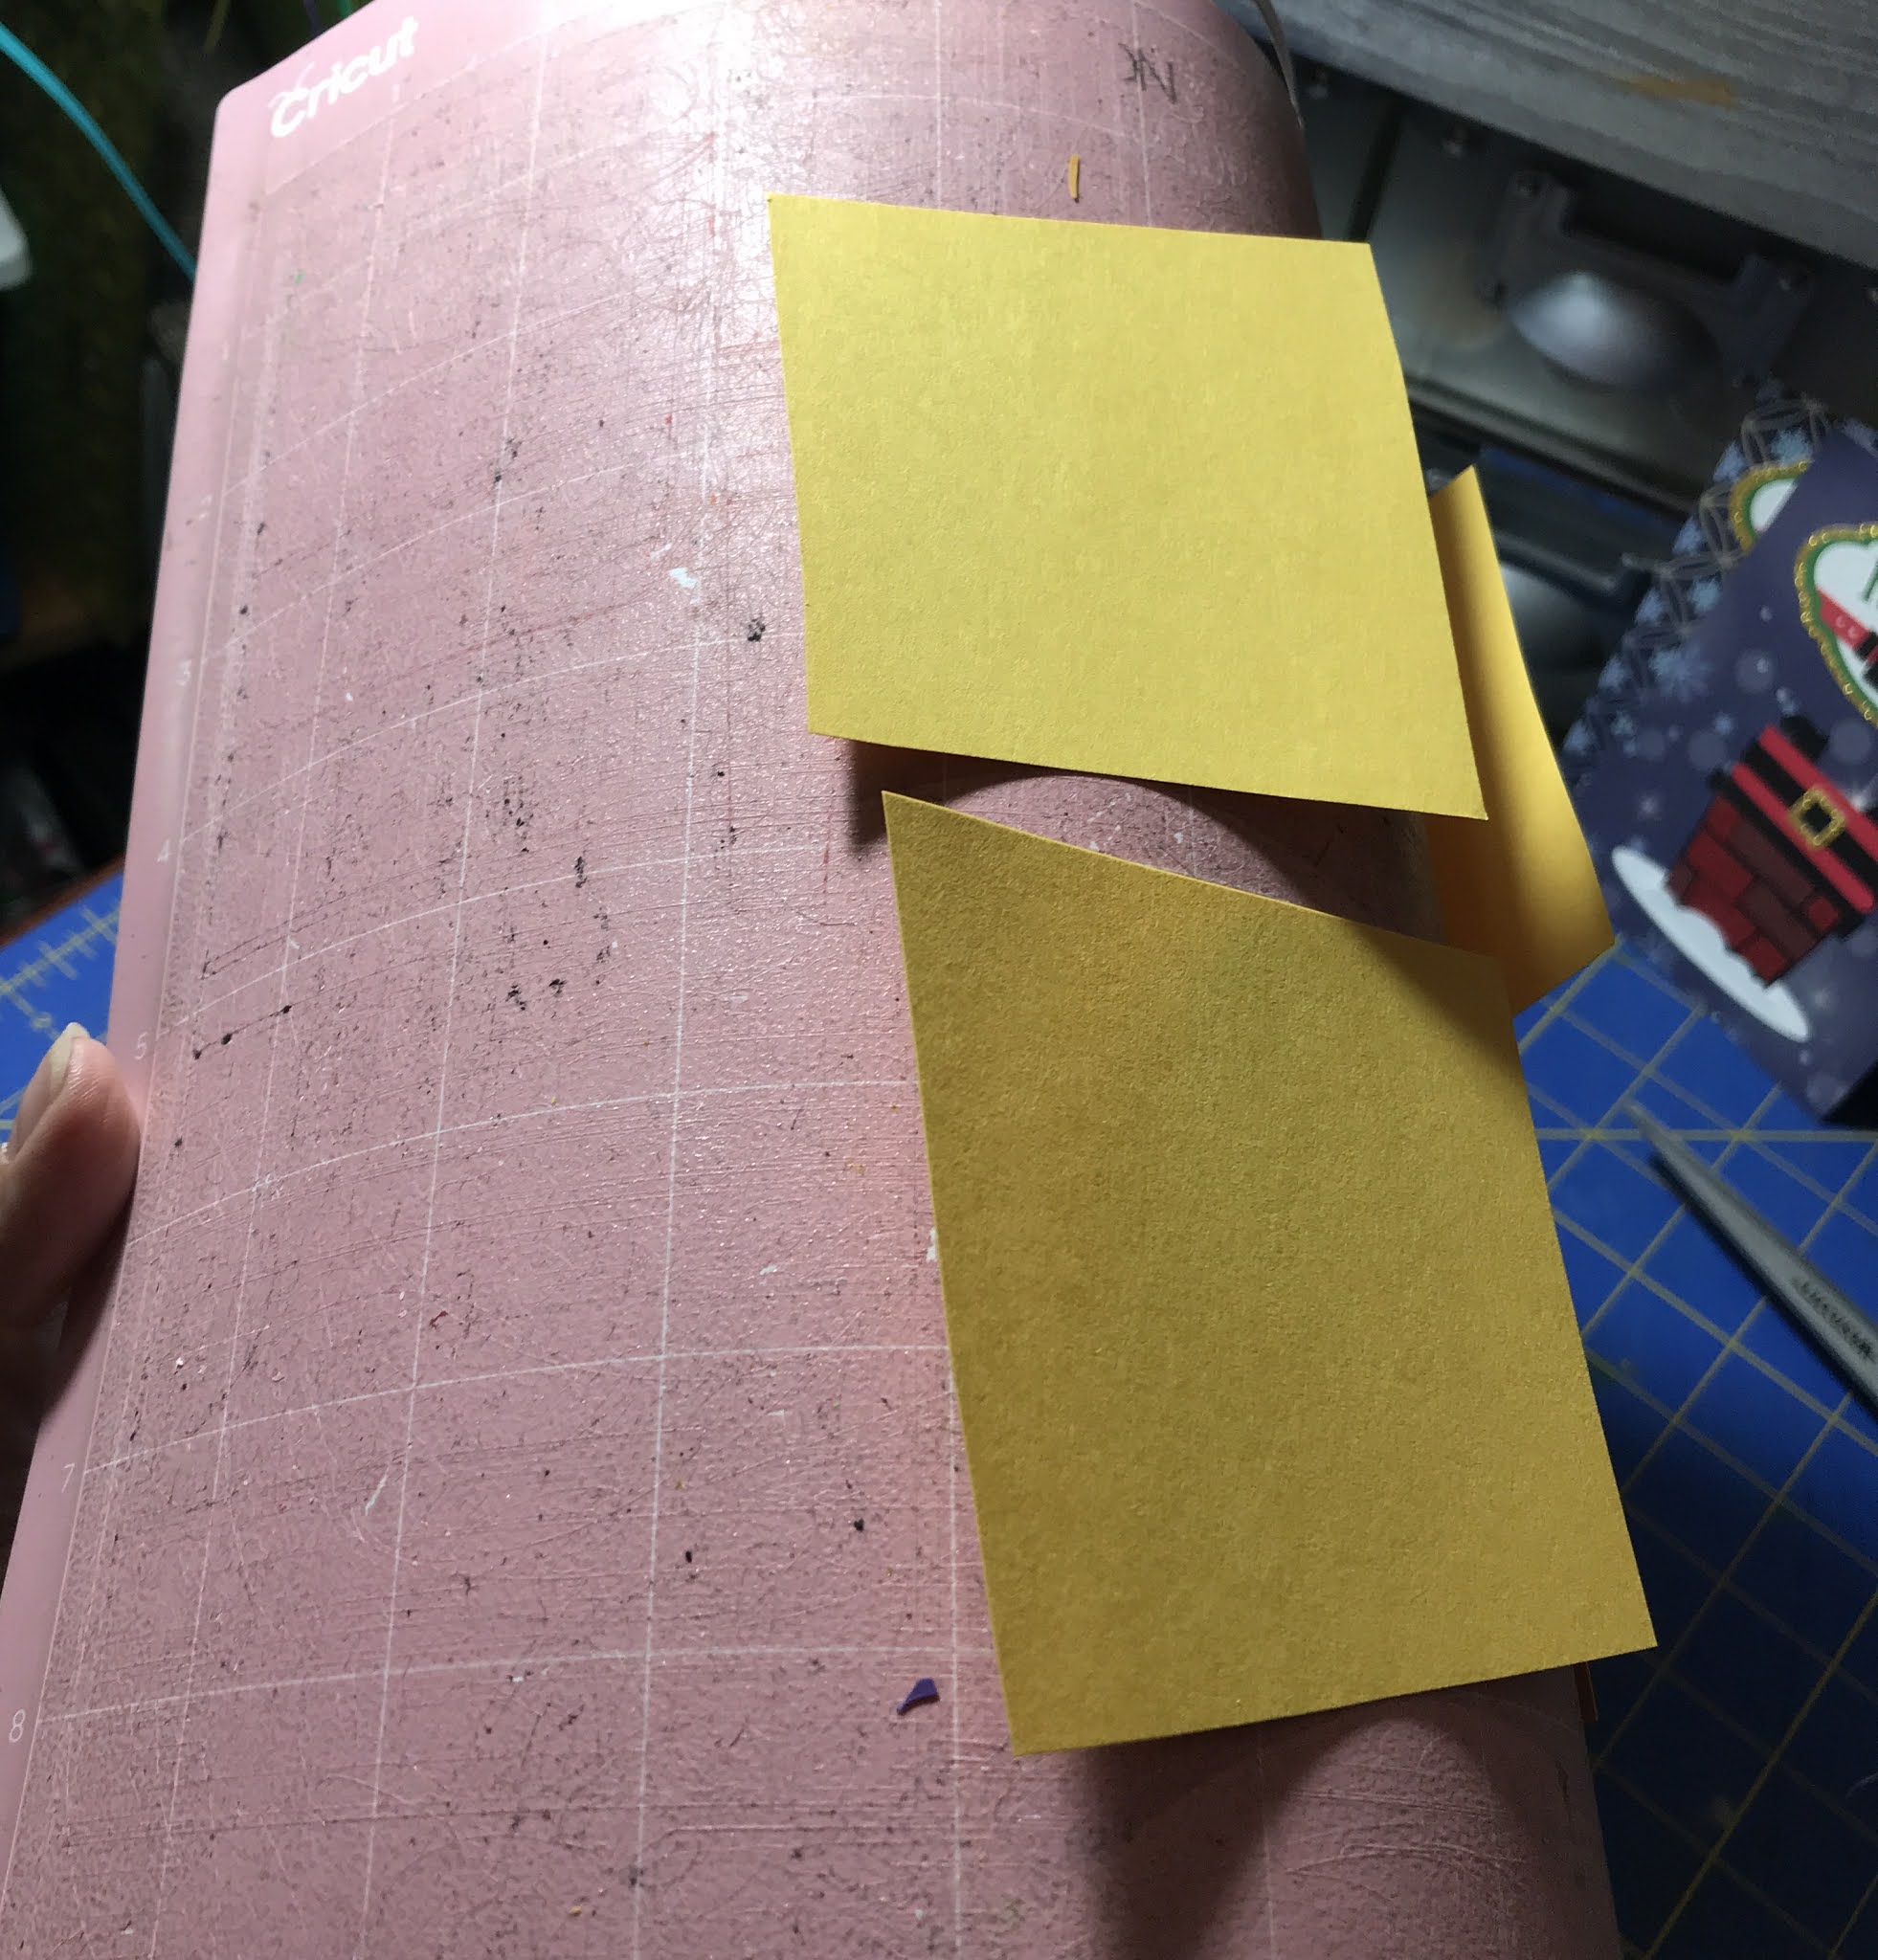
1. Once your card stock is on the mat burnish it firmly down...I use my mat scraper tool....
 2. If you aren’t used to card stock the easiest way to get it off the mat is to roll the mat back...most of the card will pop right off...(don’t roll too far you can snap the mat..
The two Orange for the outer rim, and mats come up on different mats you can put them together. On the prepare page.
Go to the mat with the mat pieces. And click on the three dots and choose move to another mat and put it on the mat with the big square. And arrange them so they don’t overlap.
Also, this is where you change the mats to 11.5 x 8 if you are using the smaller sheets...you have to change each color that needs it. Now cut...
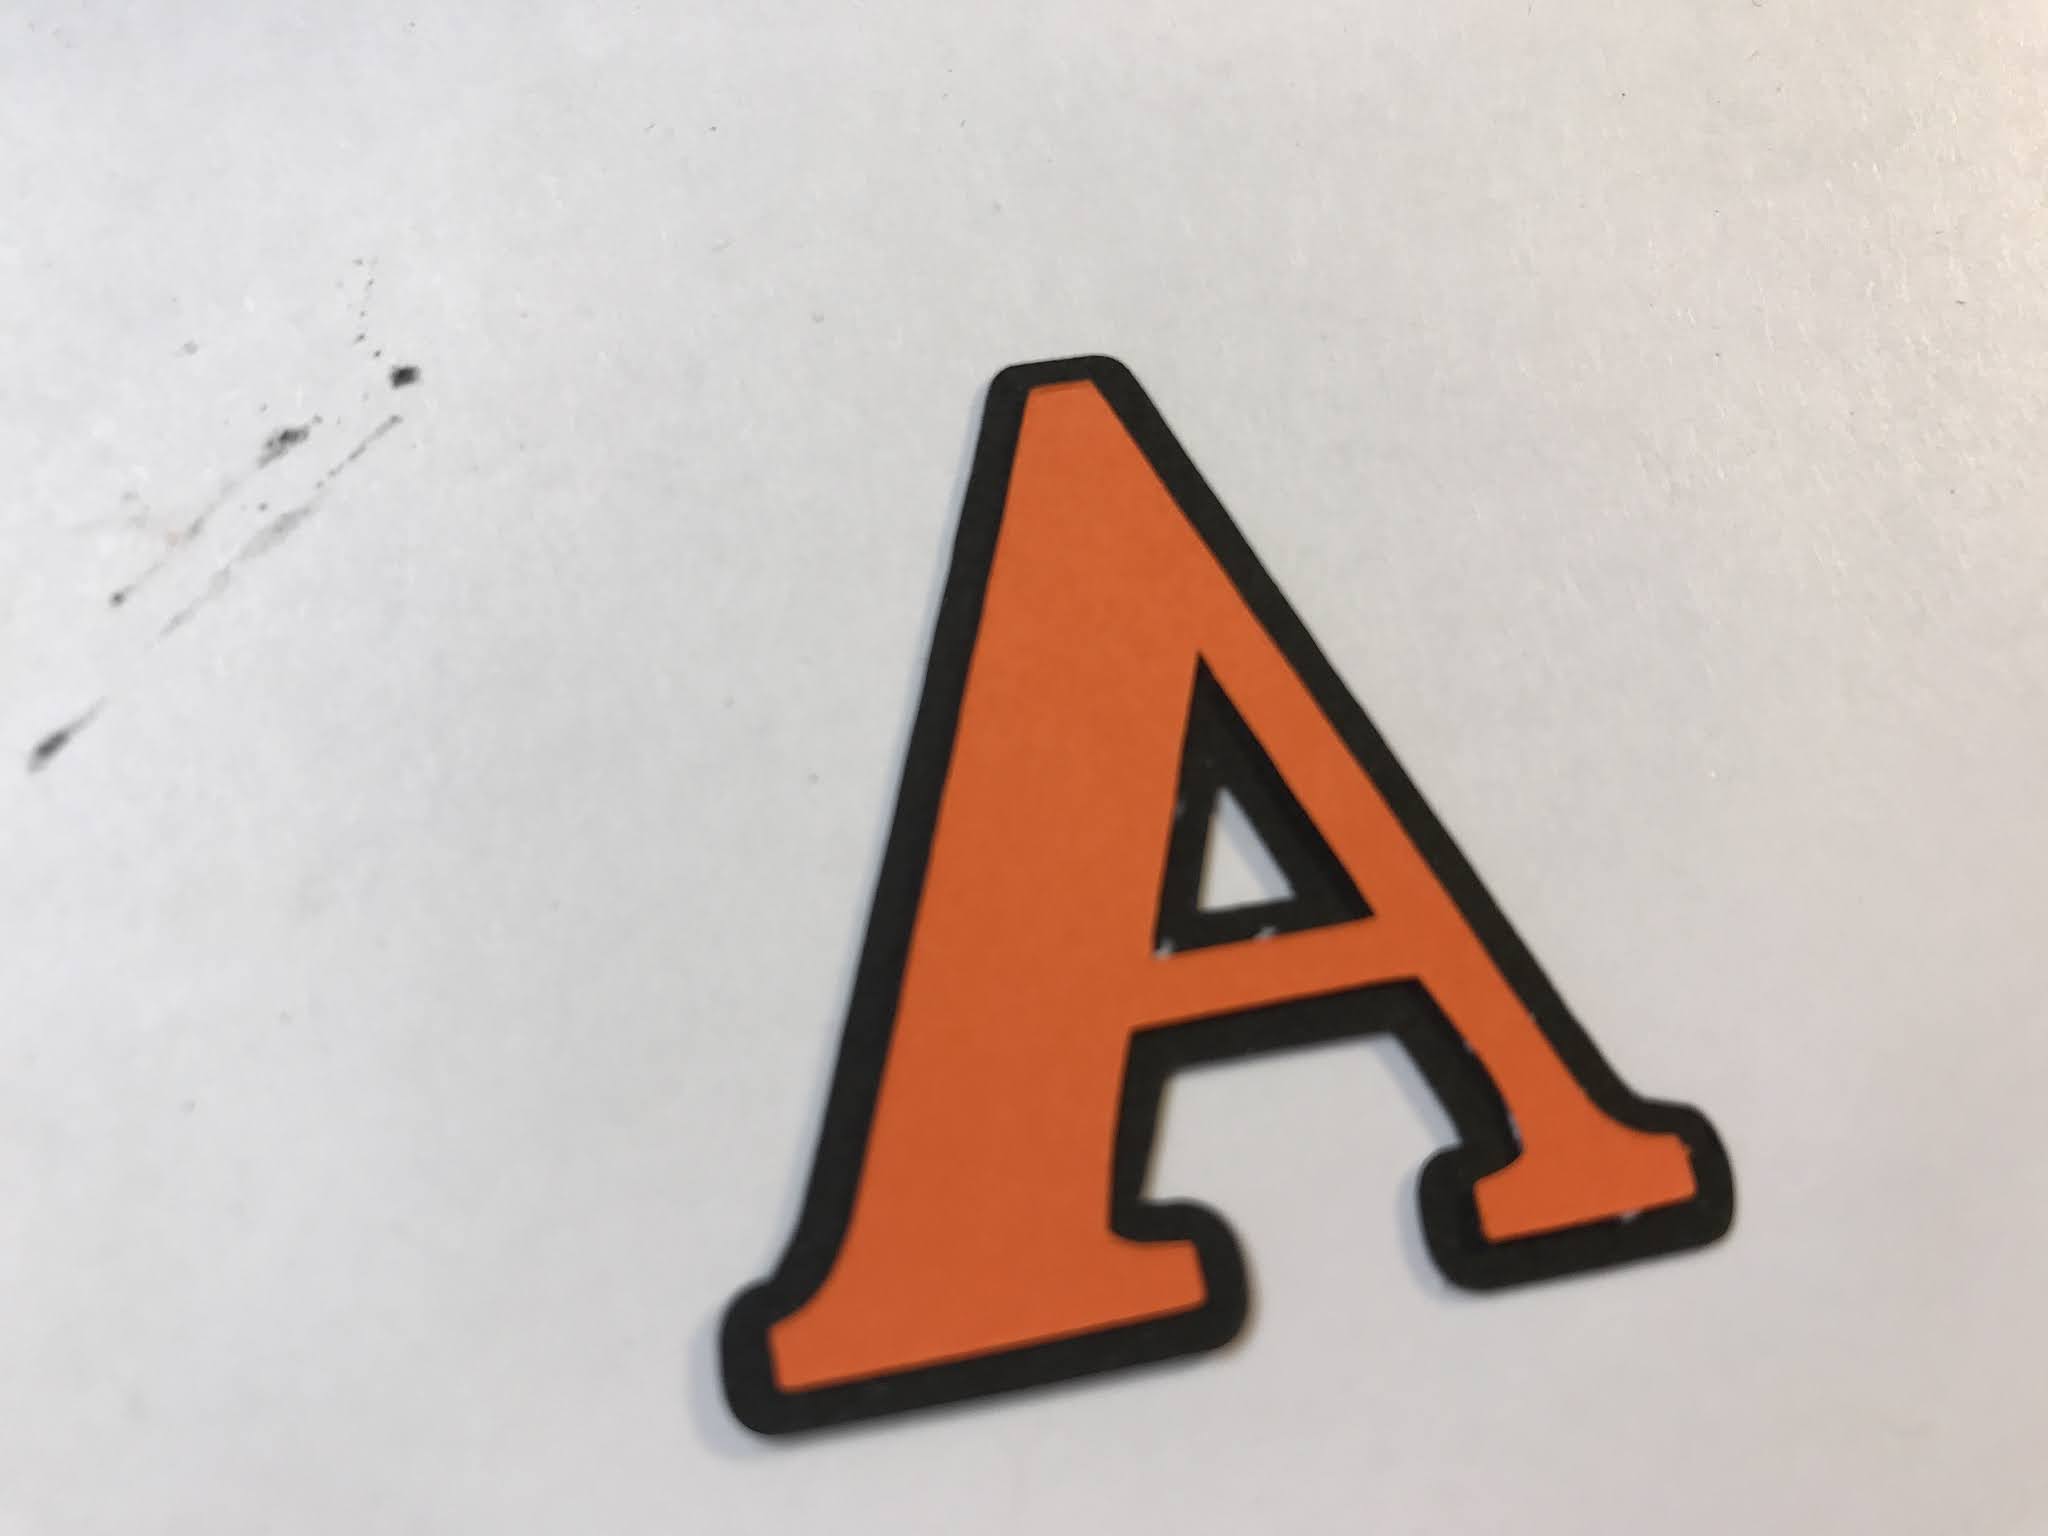
Put your letters together first..put the glue on the back of the inside piece..and glue in place.
Then add the letters to the mats.
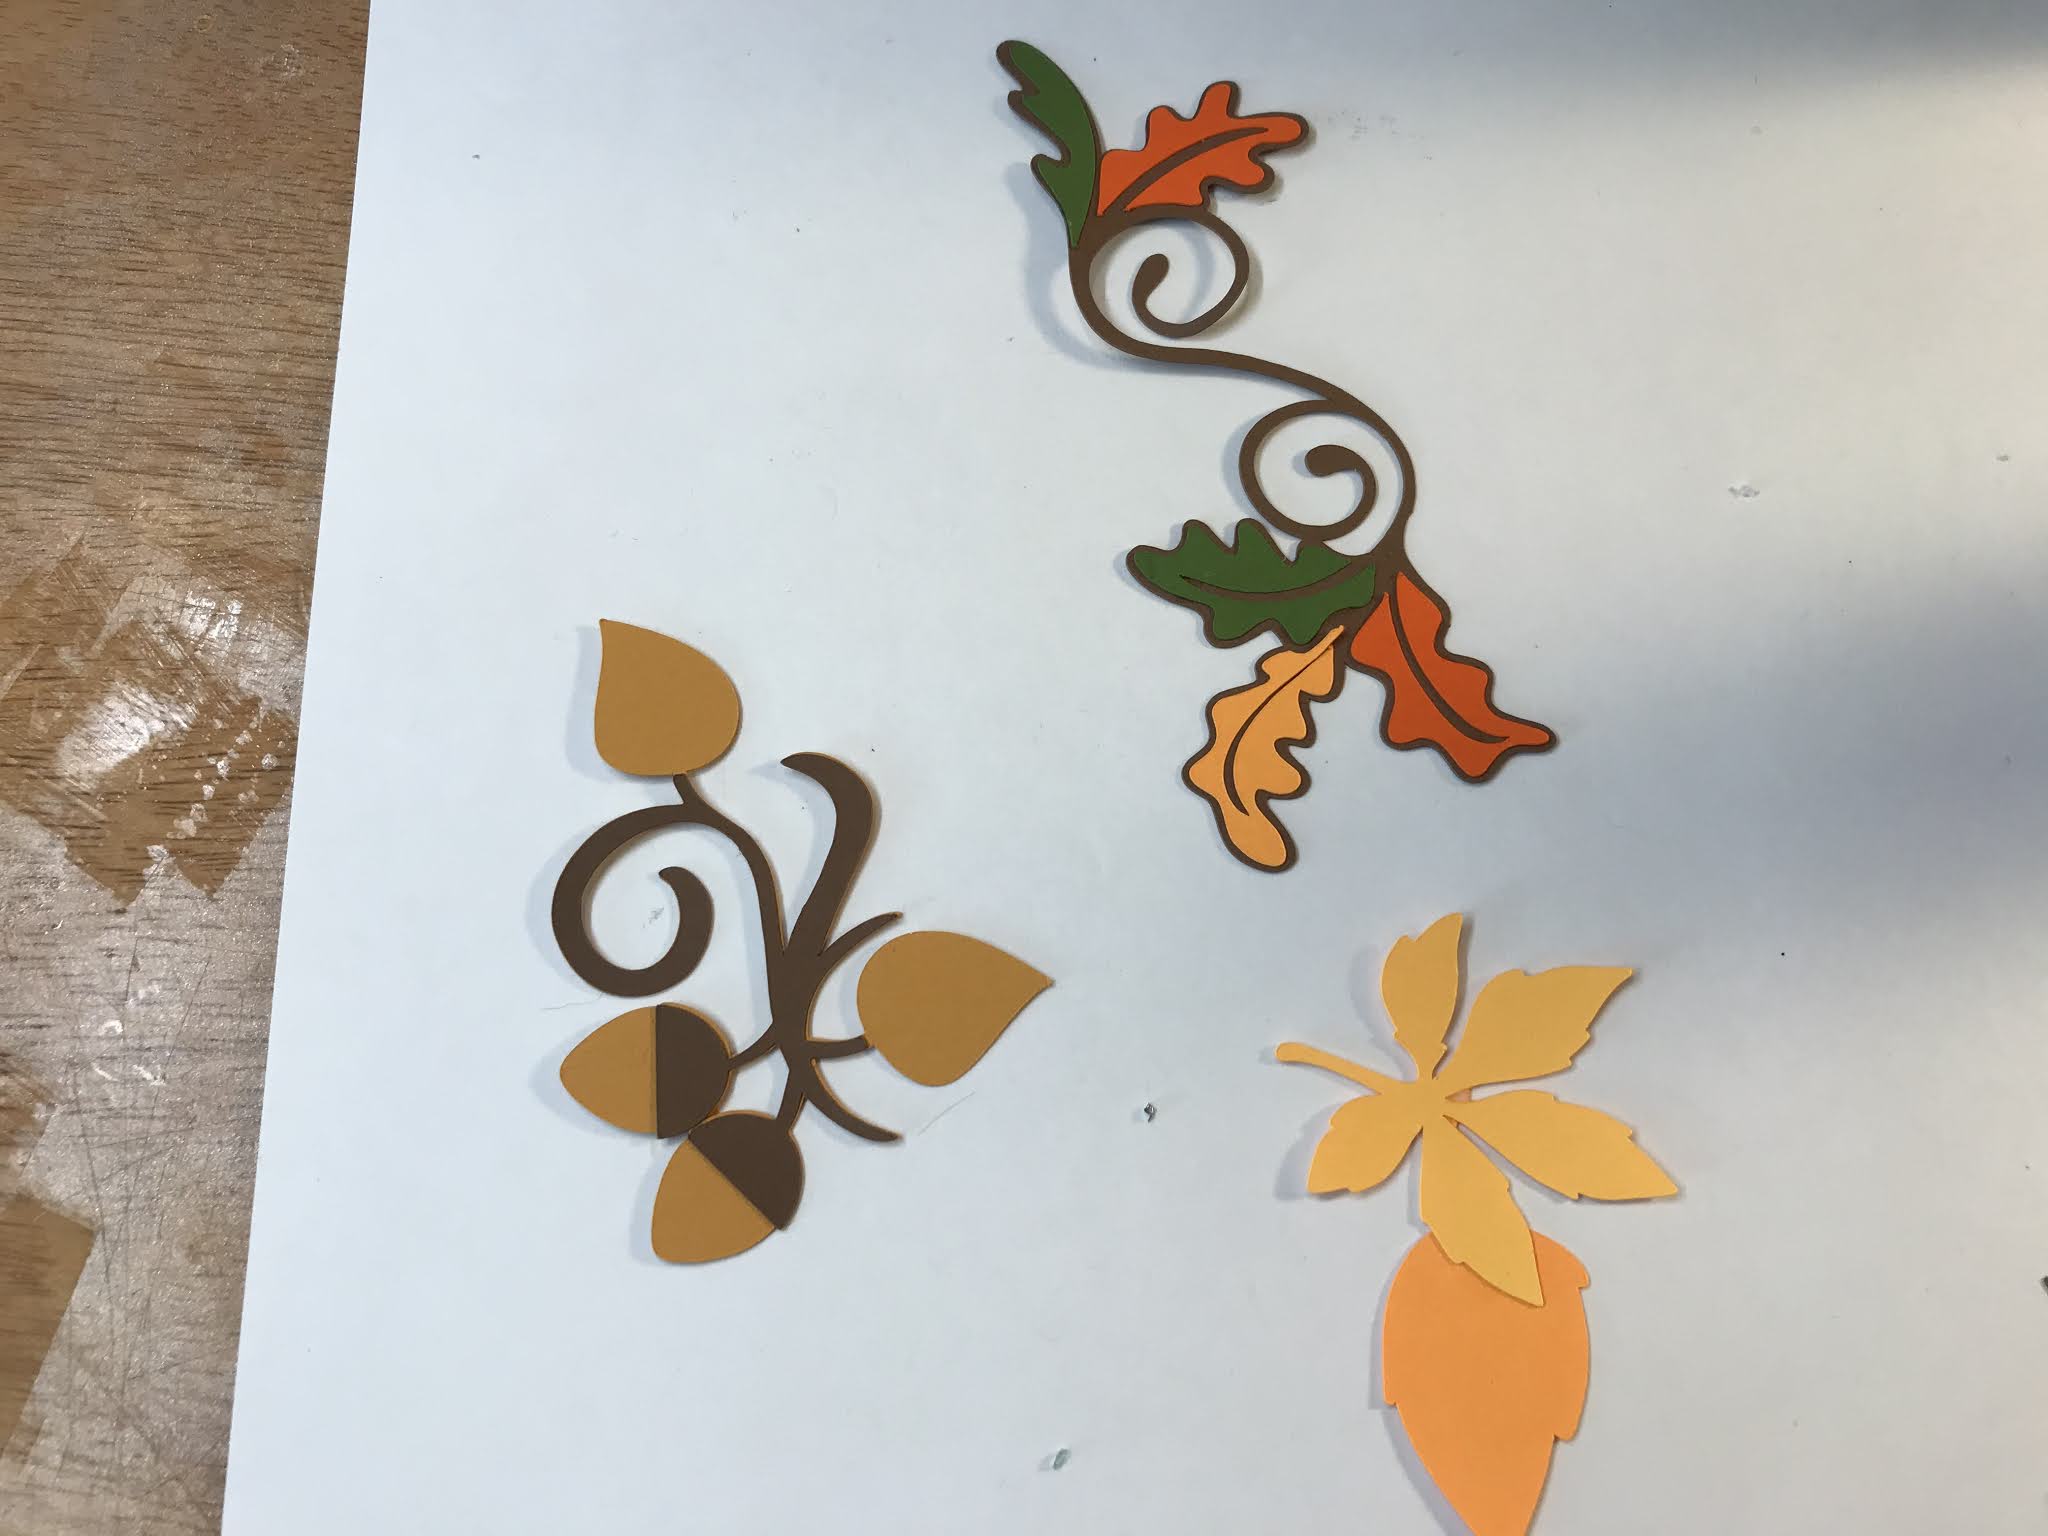
Make the three photo mats. And arrange the pieces. Then glue down (or use double sided tape). Now for the three embellishments.
Here are the three base pieces.
The next steps are shown here in order..
To end the pieces off I added a few bits of marker and lots of gold glitter, gel pen. Optional of course. Don’t put the embellishments on until you have the pictures on the mat as you want them on top...you can tack them down on the edges if you are saving it for later.